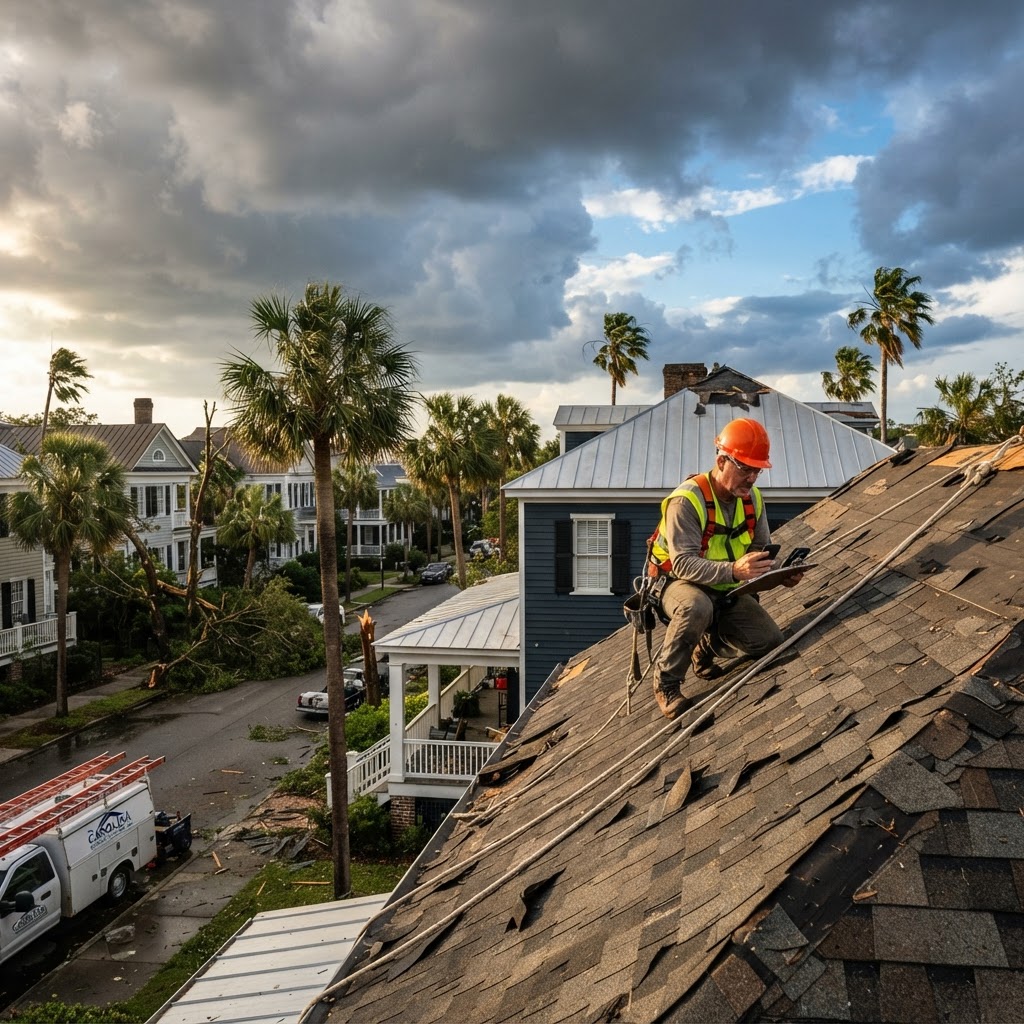
When a storm rolls through the Lowcountry, roof damage often isn't obvious from the ground. Here's what Charleston homeowners should do first — and what to avoid — to protect your home and your insurance claim.
Step 1: Document Everything Before You Touch Anything
Photograph your roof, ceilings, gutters, and yard from multiple angles before cleanup begins. Insurance adjusters compare before-and-after conditions, and missing documentation is the most common reason storm claims get underpaid.
Step 2: Contain Water Inside the House
If water is coming in, move belongings and place buckets or tarps where possible. Note the exact locations — water entry points tell a roofer exactly where the breach is, even after the rain stops.
Step 3: Get a Professional Inspection — Free
Charleston's humidity means hidden moisture becomes black mold within days. A professional roof inspection catches damage you can't see from the ground: lifted shingles, cracked flashing, and soaked decking. Most reputable contractors, including us, inspect for free and document damage in the format insurance companies expect.
Step 4: Understand What Insurance Covers
Wind and hail damage is typically covered under standard homeowner policies, minus your deductible. Gradual wear and tear is not. That's why the inspection report matters — it establishes the damage as storm-related, not maintenance neglect.
Step 5: Never Rush Temporary Repairs
Emergency tarping is smart; hiring the first door-knocker with a magnet sign is not. Storm-chasing contractors flood the Lowcountry after every hurricane. Check that any contractor is licensed, insured, and local — ask for a physical Charleston-area address and references.
Common Post-Storm Roof Problems in Charleston
- Missing or lifted asphalt shingles from wind uplift
- Dented or cracked flashing around vents and chimneys
- Wind-driven rain intrusion at gable ends
- Blocked gutters causing water backup under shingle edges
The Bottom Line
Document, inspect, then repair — in that order. Run the storm assessment below to gauge your risk, and if your roof took a hit, book a free on-site damage assessment before the next system arrives.